")
")
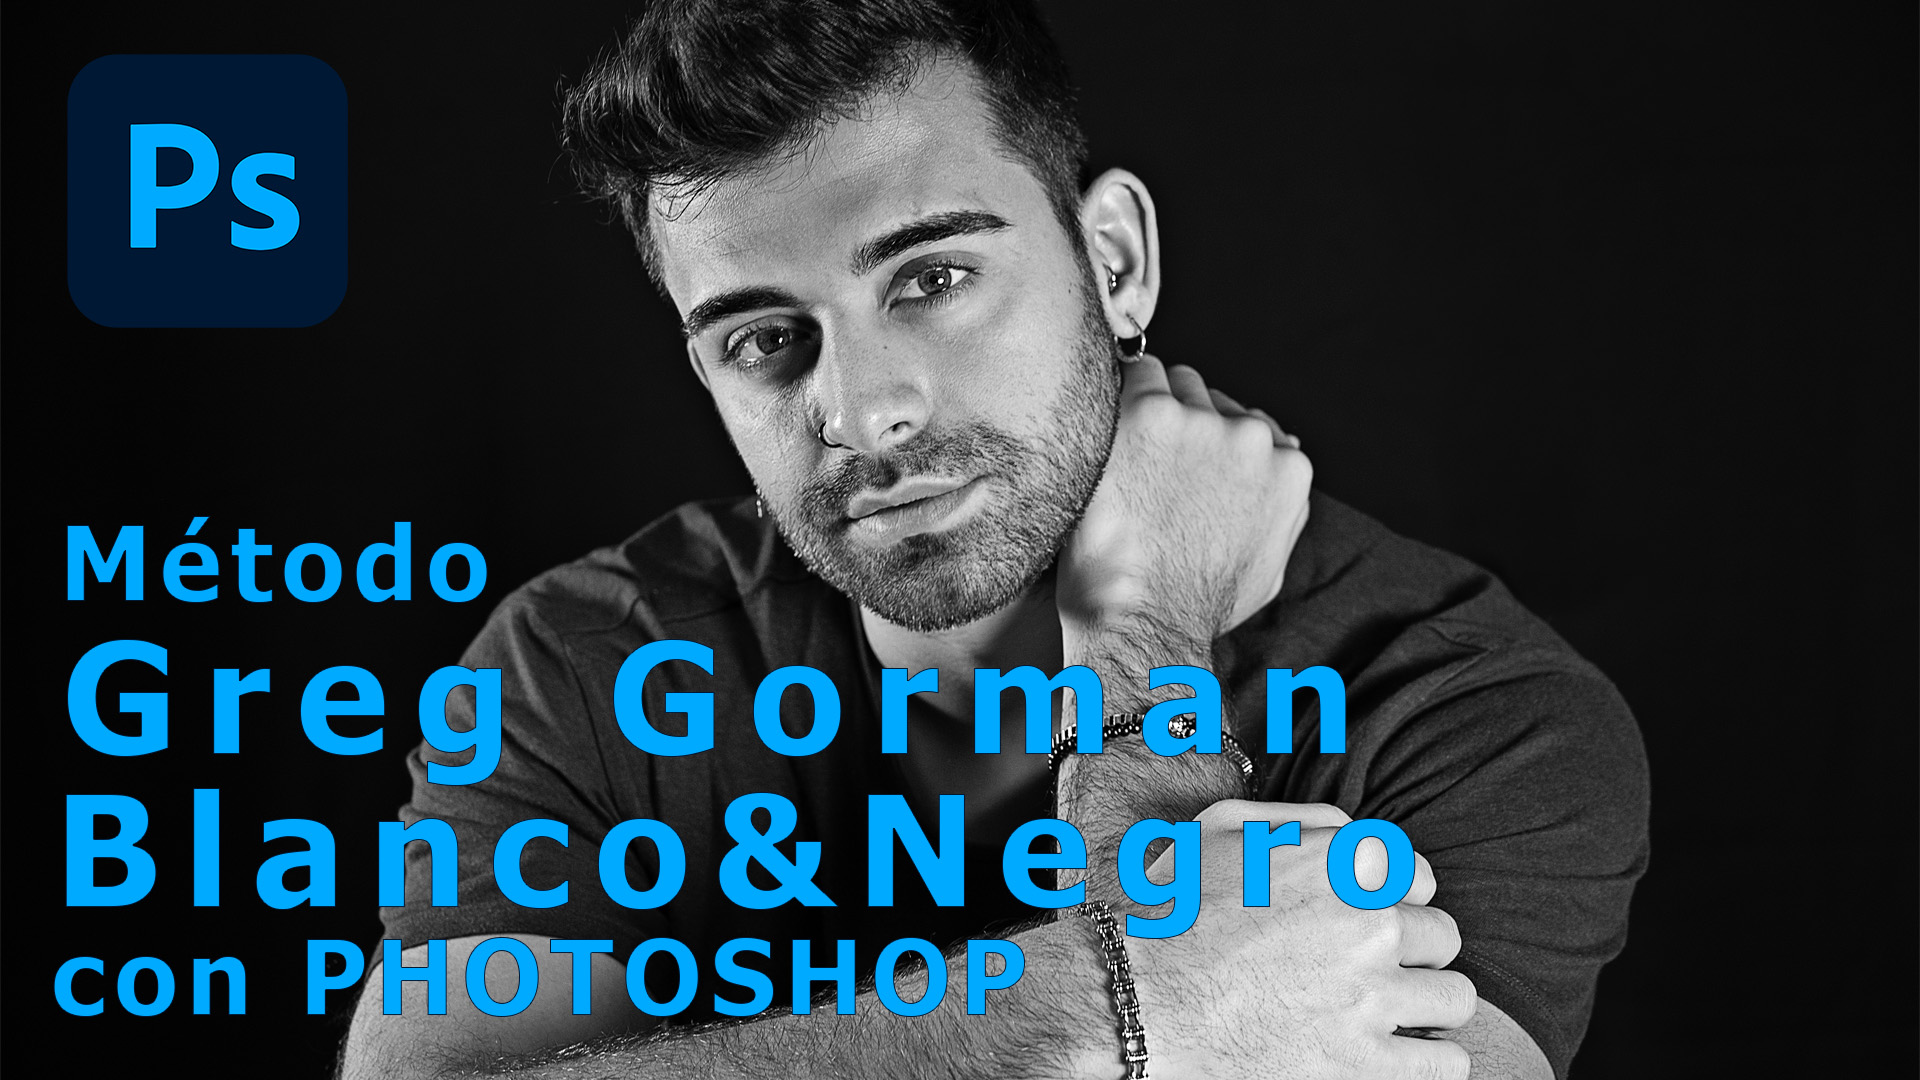
Portraits in the Style of Greg Gorman: Emotion, Light and Black & White Technique
There’s a timeless quality to a black and white portrait. It’s not about the absence of color—it’s about presence, expression, soul. The Greg Gorman aesthetic, marked by soft lighting and sculptural shadows, invites intimacy and quiet power.
This tutorial doesn’t aim to replicate, but to reinterpret. You’ll learn how to craft a portrait with tension and tenderness, where light tells a story and shadow listens.
1. Convert to black and white with intention
Use a Black & White adjustment layer and fine-tune the channels to sculpt facial features. Make the cheekbones whisper, let the eyes carry the light.
2. Build emotional contrast
With Curves and Levels, create tension without harshness. This isn’t about drama for drama’s sake—it’s about quiet depth.
3. Dodge & Burn with care
Create soft light and dark strokes to define the face. Enhance eye highlights, deepen cheek hollows, outline the lips. Let the light carve gently.
4. Add grain and atmosphere
A fine grain layer brings texture and authenticity. Blur the background slightly if needed, letting the subject float in focus.
The result will be more than a portrait. It will be an emotional still, where the viewer meets something quietly human.
Greg Gorman's method for developing Black & White photos.
- Verfügbare Untertitel: Deutsch, Englisch, Spanisch, Französisch, Italienisch und Portugiesisch. Wähle deine Sprache.
- Available subtitles: German, English, Spanish, French, Italian and Portuguese. Select your language.
- Disponibles subtítulos: Alemán, English, Español, Francés, Italiano y Portugués. Selecciona tu idioma.
- Sous-titres disponibles : Allemand, Anglais, Espagnol, Français, Italien et Portugais. Choisissez votre langue.
- Sottotitoli disponibili: Tedesco, Inglese, Spagnolo, Francese, Italiano e Portoghese. Seleziona la tua lingua.
- Legendas disponíveis: Alemão, Inglês, Espanhol, Francês, Italiano e Português. Selecione sua lingua.
Prefieres verlo en Youtube. Y si te gusta no dudes en darme tu 'Like', 'Compartirme con tus amigos' y suscribirte a mi canal.
Échale un vistazo al antes y después del retoque aplicando el tutorial que acabas de ver. Mueve la barra central con tu ratón para desplazar el efecto. (Las fotos deben aparecer acontinuación, en caso contrario refresca la página -F5)