")
")
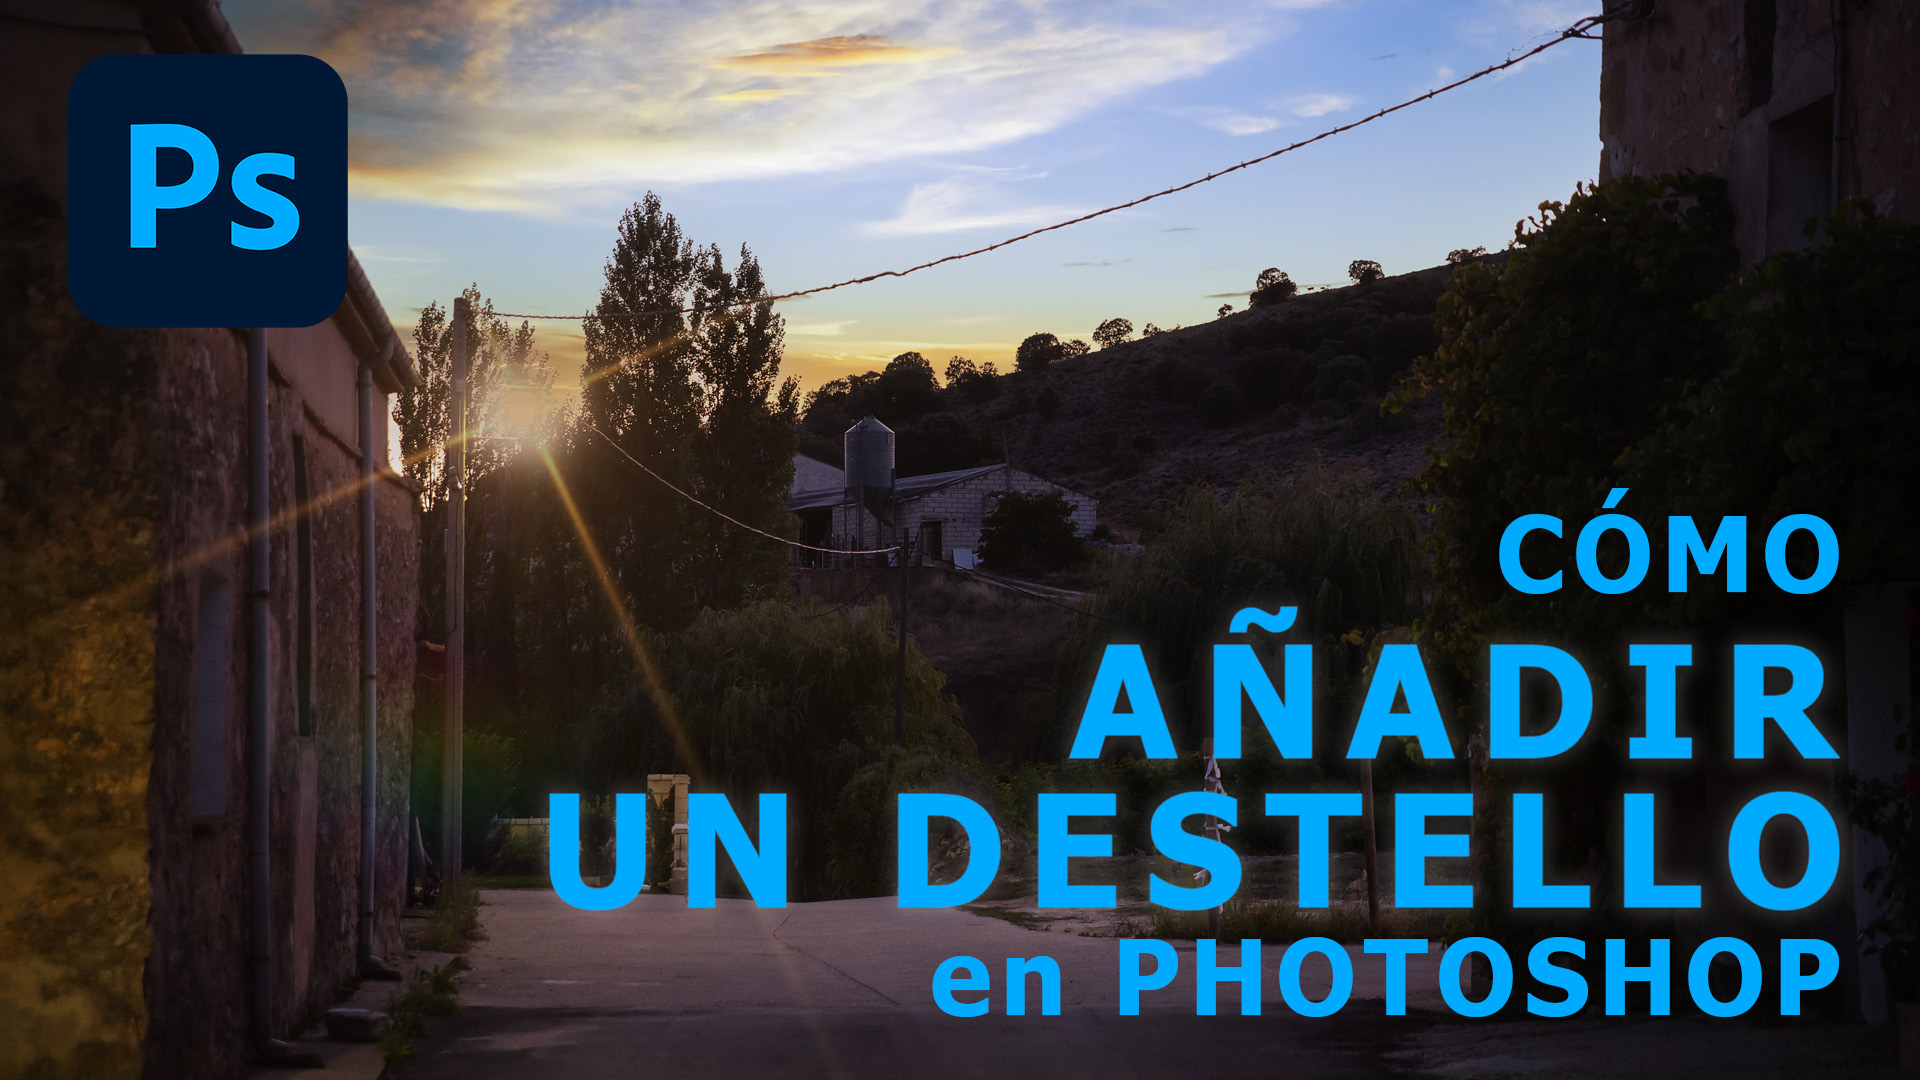
The Art of the Flare: Adding Light with Artistic Intention in Photoshop
Light can do more than illuminate—it evokes, shapes, and narrates. A well-placed lens flare isn’t just an effect; it’s a subtle punctuation in the language of imagery.
This tutorial invites you to add flares in Photoshop with sensitivity and authorship. Not as decoration, but as a photographic decision that elevates the story within the frame.
1. Start with tonal balance
Before adding the flare, ensure your image has a balanced atmosphere. Adjust curves, tones, and colors to give the flare a narrative home.
2. Add the flare using Lens Flare filter
On a new layer, go to Filter > Render > Lens Flare. Choose a type that fits the emotion of your photo. Experiment, but always with purpose.
3. Blend and refine
Change the blending mode to Screen or Lighten. Use a layer mask to reveal the flare only where it feels natural—never force it.
4. Enhance with color and brush
Paint warm tones around the flare with a soft brush to integrate it with the image’s temperature and mood. Think atmosphere, not artifice.
The goal is not to impress with effect, but to suggest with light. Let your flare speak with quiet authority.
How to add a sparkle
- Verfügbare Untertitel: Deutsch, Englisch, Spanisch, Französisch, Italienisch und Portugiesisch. Wähle deine Sprache.
- Available subtitles: German, English, Spanish, French, Italian and Portuguese. Select your language.
- Disponibles subtítulos: Alemán, English, Español, Francés, Italiano y Portugués. Selecciona tu idioma.
- Sous-titres disponibles : Allemand, Anglais, Espagnol, Français, Italien et Portugais. Choisissez votre langue.
- Sottotitoli disponibili: Tedesco, Inglese, Spagnolo, Francese, Italiano e Portoghese. Seleziona la tua lingua.
- Legendas disponíveis: Alemão, Inglês, Espanhol, Francês, Italiano e Português. Selecione sua lingua.
Prefer to watch on Youtube. And if you like it, don't hesitate to give me your 'Like', 'Share me with your friends' and subscribe to my channel.
Take a look at the before and after of the retouching applying the tutorial you just saw. Move the center bar with your mouse to move the effect. (The photos should appear below, otherwise refresh the page -F5)