")
")
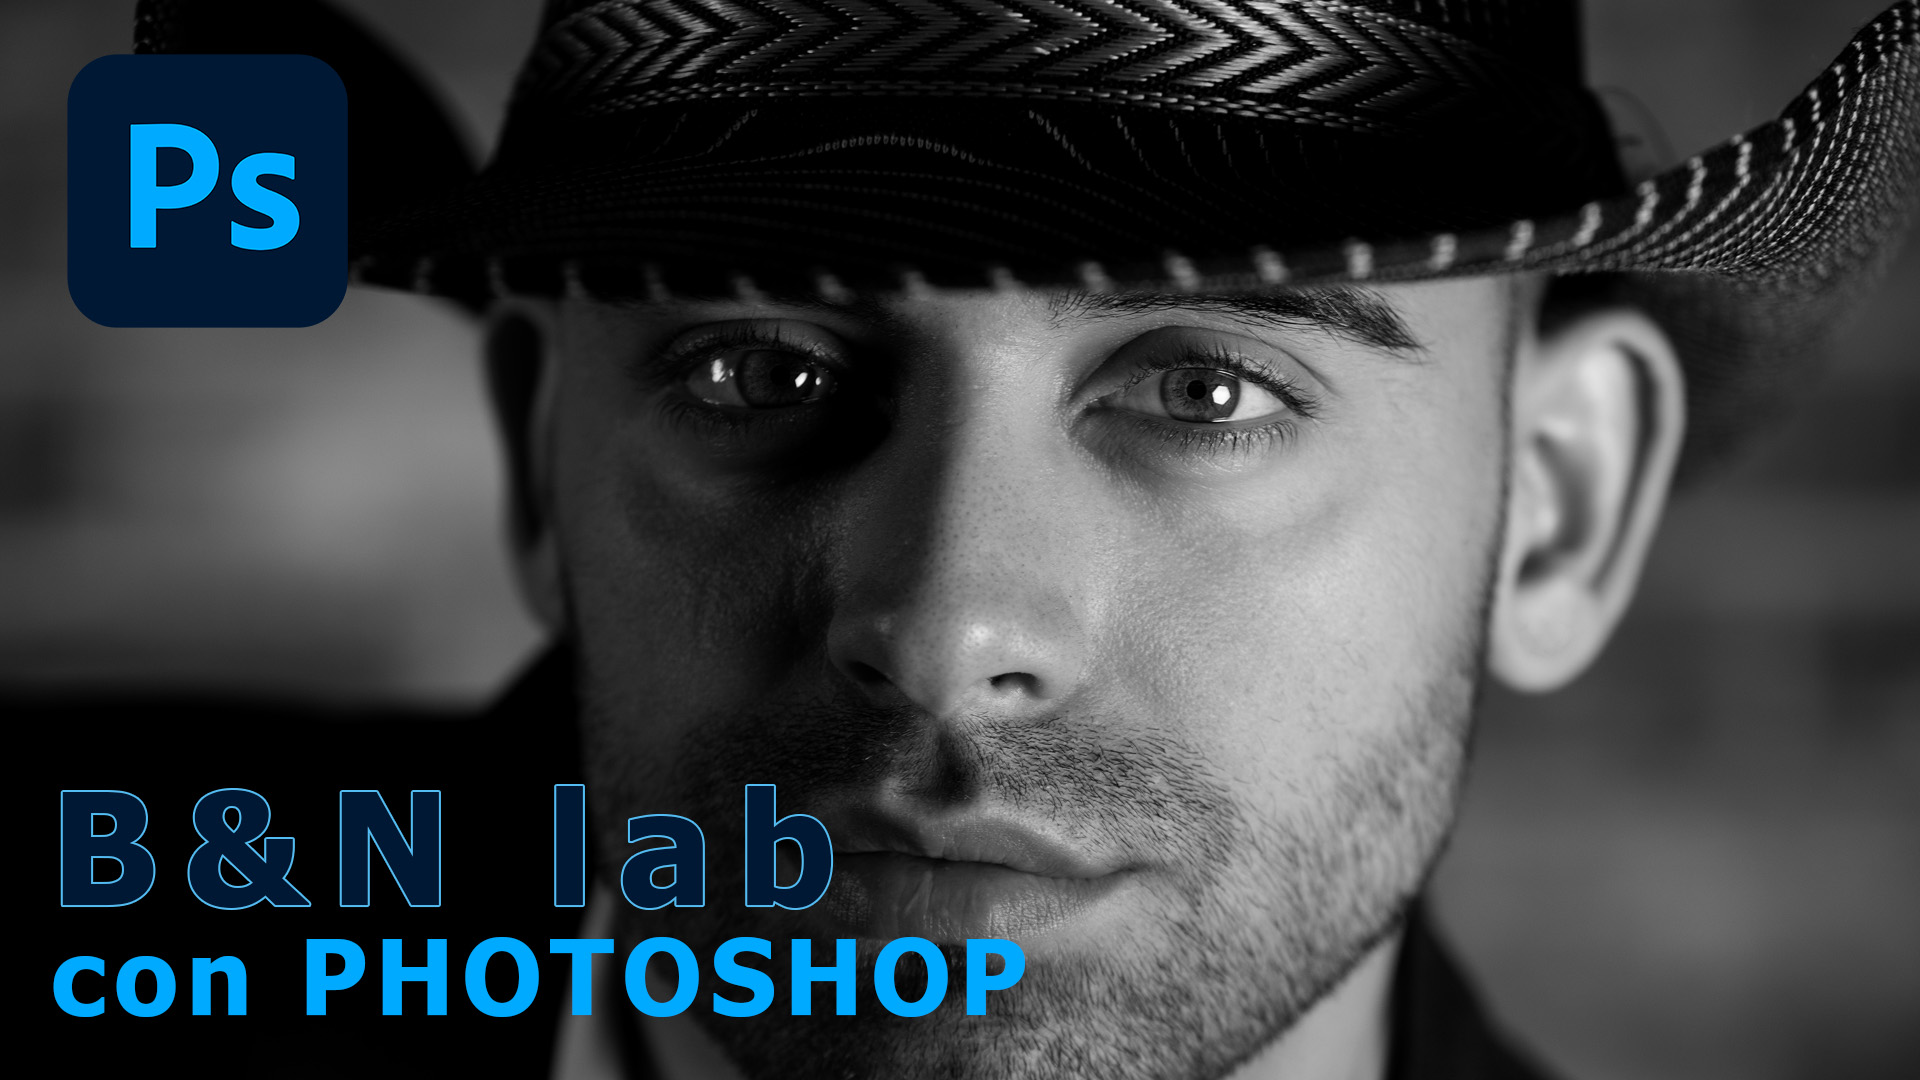
Black and White from the Soul: Crafting Monochrome with LAB Mode
Turning a photo into black and white shouldn't be a default filter or a quick preset. True black and white is more than a look—it's a statement. A way to strip the image down to its bones, to sculpt emotion and structure in the rawest form.
In this video tutorial, I walk you through a method that is as much about feeling as it is about technique. Using LAB mode in Photoshop, we isolate the Lightness channel, separating the essence of light from color. This gives us full tonal control to shape mood, tension, softness and silence—without the noise of color disrupting our visual intent.
LAB mode doesn't just simplify; it sharpens. It brings clarity. It gives us the freedom to darken a shadow without dirtying it, to highlight a detail without flattening the image. What emerges is a monochrome that feels cinematic, handcrafted, and entirely personal.
This process isn’t about speed—it’s about authorship. It’s about tuning into what you feel, what you want to express, and letting the black and white reveal itself slowly, like a photograph breathing into its final form.
Black and white - lab
- Verfügbare Untertitel: Deutsch, Englisch, Spanisch, Französisch, Italienisch und Portugiesisch. Wähle deine Sprache.
- Available subtitles: German, English, Spanish, French, Italian and Portuguese. Select your language.
- Disponibles subtítulos: Alemán, English, Español, Francés, Italiano y Portugués. Selecciona tu idioma.
- Sous-titres disponibles : Allemand, Anglais, Espagnol, Français, Italien et Portugais. Choisissez votre langue.
- Sottotitoli disponibili: Tedesco, Inglese, Spagnolo, Francese, Italiano e Portoghese. Seleziona la tua lingua.
- Legendas disponíveis: Alemão, Inglês, Espanhol, Francês, Italiano e Português. Selecione sua lingua.
Prefer to watch on Youtube. And if you like it, don't hesitate to give me your 'Like', 'Share me with your friends' and subscribe to my channel.
Take a look at the before and after of the retouching applying the tutorial you just saw. Move the center bar with your mouse to move the effect. (The photos should appear below, otherwise refresh the page -F5)